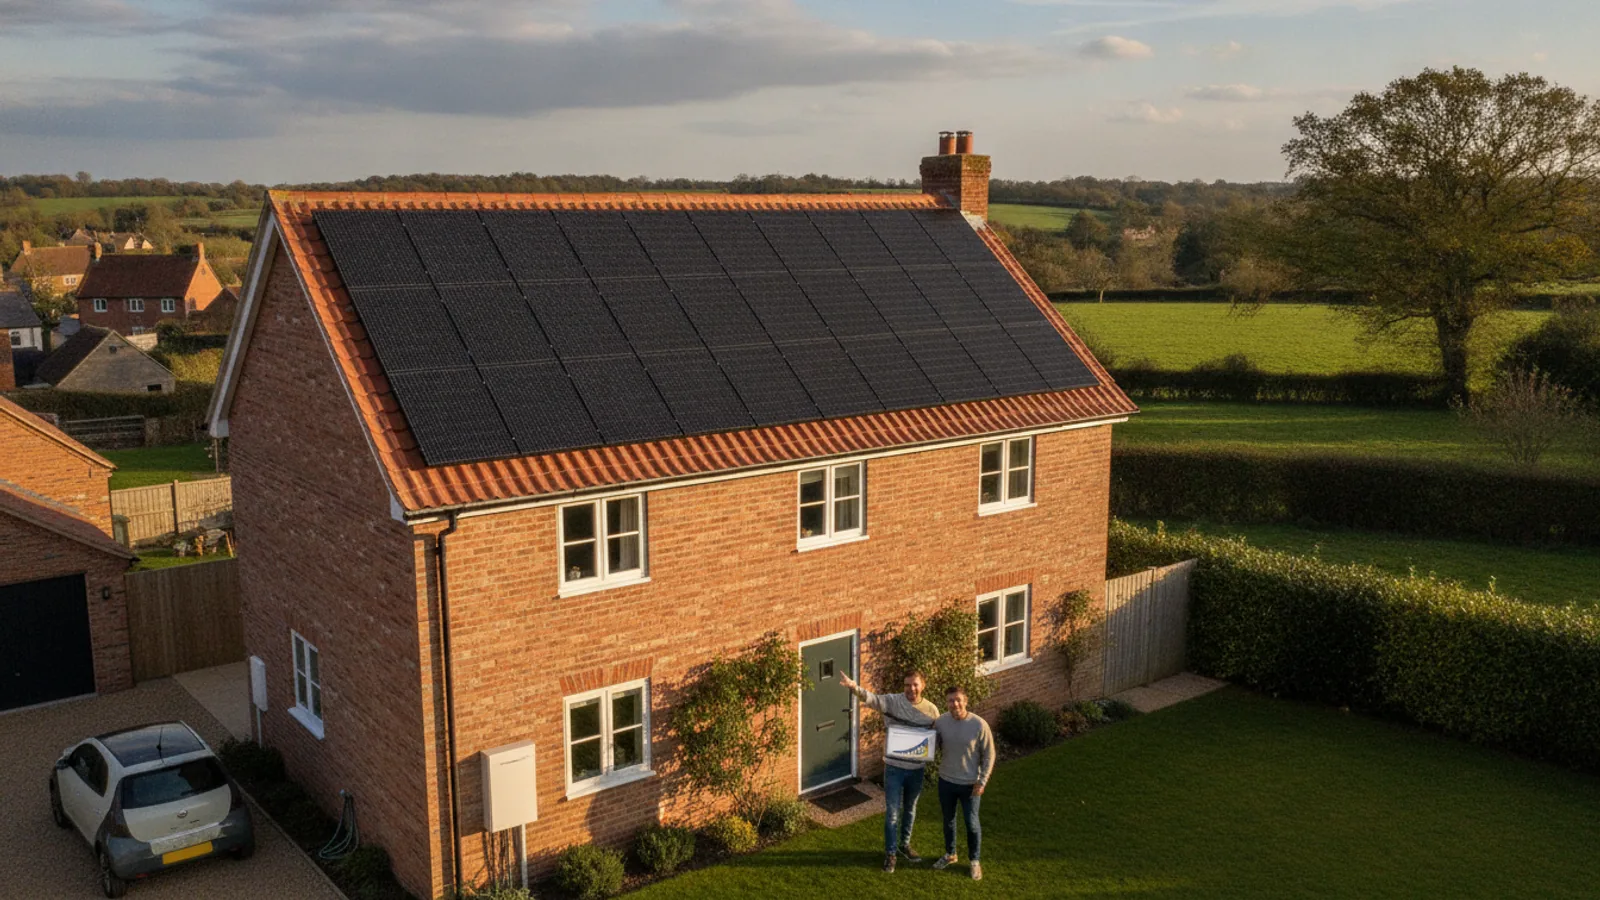
Solar Panels For Uk Homes
This guide walks you through the entire process of getting solar panels for your UK home, from the initial assessment to the final sign-off and earning money back. We cover how to check if your property is suitable, understand the costs and savings, find a reputable installer, and navigate the installation process. This is your practical roadmap to generating your own clean electricity, reducing your energy bills, and making a smart, sustainable investment in your home.
Fast Answer
- Key Action: Assess your roof's suitability (size, orientation, condition, and shading).
- Next Step: Get at least three detailed quotes from MCS-certified installers.
- Main Goal: Reduce electricity bills by using your own power and exporting the surplus.
- Key Scheme: Register for the Smart Export Guarantee (SEG) to get paid for unused energy.
Before You Start Your Solar Panel Journey
Getting solar panels is a significant home improvement project. Proper preparation is key to a smooth process and ensuring you get a system that meets your needs for decades to come. Before you start contacting installers, gather the following information and complete these essential checks.
What You Need
- Recent Electricity Bills: You'll need at least 12 months of bills to understand your annual electricity consumption in kilowatt-hours (kWh). This is the most critical piece of data for sizing your system correctly.
- Roof Details: Know your roof's age, condition, and the material it's made from (e.g., slate, concrete tiles, asphalt). An installer will need this for their initial assessment.
- Your Home's EPC Rating: Having an Energy Performance Certificate (EPC) rating of 'D' or above is often required for certain green finance options and was a prerequisite for past government schemes. It's a good indicator of your home's overall efficiency.
- Property Information: Check if your home is a listed building or located within a conservation area, a National Park, or an Area of Outstanding Natural Beauty (AONB), as this will affect planning permissions.
- A Preliminary Budget: Have a rough idea of what you are prepared to invest. This will help you and your installer decide on system size and whether to include extras like battery storage.
Safety, Timing, and Context Checks
Before committing, it's vital to perform a few crucial checks. These steps protect your investment and ensure your installation is safe, compliant, and eligible for export payments.
- Installer Certification: Only consider installers who are certified by the Microgeneration Certification Scheme (MCS). This is non-negotiable. MCS certification is a mark of quality and a requirement for applying to the Smart Export Guarantee (SEG).
- Consumer Code Membership: Reputable installers should also be members of a consumer code body, such as the Renewable Energy Consumer Code (RECC). This provides you with protection in case of disputes.
- Roof Condition: If your roof is old or may need replacing in the next 10-15 years, consider carrying out this work before installing solar panels. Removing and reinstalling panels later is a significant extra cost.
How to Get Solar Panels For Your UK Home: Step-by-Step
Assess Your Home’s Suitability
The first step is a realistic assessment of your property. The performance of your solar panels depends almost entirely on your roof's characteristics. A south-facing roof is the UK ideal, receiving the most direct sunlight throughout the day. However, east and west-facing roofs are also highly effective, generating more power in the morning and evening, respectively, which can align well with household energy use.
Consider the roof's pitch, or angle. A pitch between 30 and 40 degrees is optimal for capturing sunlight. Most important is shading. Look for shadows cast by nearby trees, chimneys, or neighbouring buildings, especially during the middle of the day. Even partial shading on one panel can significantly reduce the output of a standard system. Finally, measure the available clear roof space. A typical 4kWp system, common for family homes, requires around 20-25 square metres of unobstructed space.
Calculate Your Energy Needs & Potential Savings
Dig out your energy bills and find your total annual electricity consumption, measured in kWh. This number is the foundation for sizing your system. For example, a household using 3,500 kWh per year would be well-matched with a 3.5kWp or 4kWp solar panel system. The goal is not necessarily to generate 100% of your usage, but to offset a significant portion of it.
Your savings come from two sources: reducing the amount of electricity you buy from your supplier and getting paid for the surplus energy you export to the grid via the Smart Export Guarantee (SEG). The biggest savings come from "self-consumption"—using the electricity as it's being generated. This means running appliances like the washing machine or dishwasher during daylight hours. Understanding this is key to estimating your payback period, which can range from 8 to 15 years depending on system cost, future electricity prices, and your usage patterns.
Research Installers and Get Quotes
This is the most critical research phase. Aim to get detailed, written quotes from at least three different MCS-certified installers. This allows you to compare not just the price, but the proposed equipment, performance estimates, and the professionalism of the company.
Find accredited installers through the official MCS website database. Look for companies with a solid track record, positive independent reviews, and ideally, a local presence. When you contact them, be ready to provide your address and annual kWh consumption. A reputable installer will conduct a remote assessment using satellite imagery first, followed by a technical survey at your home before providing a final, binding quote.
Understand the Quote & Technology
A good quote is more than just a price; it's a detailed proposal. It should clearly itemise the make and model of the solar panels (e.g., monocrystalline, which are more efficient and common in the UK), the inverter (which converts the DC electricity from the panels to AC for your home), the mounting system, scaffolding, and labour costs.
The quote will specify the system size in kilowatt peak (kWp), which is the maximum power the system can generate under ideal test conditions. It should also include a performance estimate showing how many kWh the system is expected to generate annually, and an estimate of your potential savings. Pay close attention to the warranties: panels typically have a 25-year performance warranty and a 10-15 year product warranty. The inverter usually has a shorter warranty of 5-10 years, so ask about options for an extended warranty.
Arrange Financing and Permissions
Once you've chosen your installer and accepted their quote, you'll need to sort out payment. This could be from savings, a personal loan, or by adding the cost to your mortgage. Some installers may offer their own finance packages, but always compare the interest rates against high-street lenders.
In most of the UK, solar panel installations are considered "permitted development," meaning you don't need to apply for planning permission. However, this is not the case if your property is listed, in a conservation area, or an AONB. In these situations, you must consult your Local Planning Authority before any work begins. Your installer will handle the application to your Distribution Network Operator (DNO)—the company that manages the local electricity grid—which is necessary to connect your system.
Schedule and Prepare for Installation
With the paperwork in order, your installer will schedule the installation date. The entire process on-site typically takes one to three days. The first day usually involves erecting scaffolding to ensure safe roof access. The installers will then fit the mounting brackets to the roof rafters, fix the panels in place, and run the necessary cabling down into your property.
Inside your home, the electrician will install the inverter (often in the loft or a garage) and connect it to your main fuse box. You can prepare by ensuring the team has clear access to the loft, the area around your fuse box/electricity meter, and any garden space needed for the scaffolding. While the work can be noisy, it's generally not disruptive to the whole house.
Commissioning and Handover
Once everything is physically installed, the system is tested and switched on, or "commissioned." The lead installer should give you a complete handover. This includes showing you how the system works, how to read the generation meter, and how to use any monitoring apps that come with your inverter. This app is your window into the system, showing you real-time generation and your home's consumption.
Crucially, you must receive a handover pack containing all the essential documents. This must include your MCS certificate, which is the proof that your system was installed to the correct standards. You will also get user manuals, electrical schematics, and copies of all the warranties for your panels and inverter. Keep these documents in a safe place, as you will need the MCS certificate for the next step.
Register for the Smart Export Guarantee (SEG)
The final step is to start getting paid for your surplus energy. The Smart Export Guarantee (SEG) is a government-backed initiative that requires large energy suppliers to pay small-scale generators for the electricity they export to the National Grid. To apply, you need to choose an SEG Licensee (an energy supplier that offers an SEG tariff).
You do not have to use your current electricity supplier for your SEG tariff; you are free to shop around for the best rate. Rates can be fixed or variable. To apply, you'll typically fill out a form on the supplier's website and submit a copy of your MCS certificate and proof of a smart meter installation. Once approved, you'll start earning credit for every kWh you send back to the grid.
Quick Reference
| Situation | Consider This Solution | Why It Helps |
|---|---|---|
| My roof faces East and West, not South. | Use a "split array" with panels on both roof faces. | This captures morning and afternoon sun, spreading generation across the day, which can be better for self-consumption. |
| I'm out at work all day. | Add a solar battery to your system. | It stores the free solar energy generated during the day for you to use in the evening, drastically increasing your savings. |
| My roof gets partially shaded by a neighbour's tree. | Ask for microinverters or power optimisers instead of a standard string inverter. | These allow each panel to operate independently, so one shaded panel won't cripple the output of the entire system. |
| I plan to buy an electric vehicle (EV) soon. | Install a slightly larger system than your current needs suggest. | This future-proofs your home, allowing you to charge your car with surplus solar energy for the lowest possible running costs. |
Common Problems When You Install Solar Panels
While most installations are trouble-free, it's wise to be aware of potential issues. Here are some common problems and how to address them.
- System Underperformance: If your generation seems lower than predicted, the first step is to check your monitoring app for any error codes. Common causes include unexpected shading, a faulty inverter, or simply a run of unusually overcast weather. If the issue persists, contact your installer to run diagnostics, as this should be covered by their workmanship warranty.
- Aggressive Sales Tactics: A common complaint involves salespeople offering massive "limited-time" discounts or misrepresenting potential savings. The solution is simple: never sign a contract on the first visit. Always take time to compare multiple quotes and check the installer's credentials independently.
- Roof Leaks After Installation: This is very rare with experienced, professional installers who use proper mounting systems. However, if it does occur, contact the installer immediately. Their workmanship warranty and public liability insurance should cover any necessary repairs.
- Delays with DNO Approval: For larger systems (typically over 3.68kWp per phase), the DNO needs to grant formal approval before connection. This can sometimes take several weeks. While your installer manages this, you can ask for updates and copies of correspondence to ensure the process is moving along.
Advanced Tips for Solar Panels For UK Homes
Once your system is up and running, a few smart habits can help you squeeze every last drop of value from your investment.
- Shift Your Energy Load: The cheapest electricity you can use is the electricity you generate yourself. Get into the habit of running high-consumption appliances like your washing machine, dishwasher, and tumble dryer during peak sunshine hours (typically 10 am to 4 pm). Timers on modern appliances make this easy.
- Integrate with an EV Charger: If you have an electric vehicle, a smart EV charger is a game-changer. These can be set to "eco mode" to only charge the car using surplus solar power that would otherwise be exported to the grid, effectively giving you free fuel.
- Heat Your Water for Free: A solar power diverter is a clever device that redirects surplus solar generation to your immersion heater before it gets exported. This provides you with free hot water throughout the sunnier months, reducing your gas or oil bill as well as your electricity bill.
- Keep Them Clean: In the UK, regular rainfall does a good job of keeping panels clean. However, after long dry spells or if you live in an area with lots of dust or bird activity, a gentle clean can boost performance. Check your installer's guidance, but this can often be done safely from the ground with a soft brush and a hose.
Solar Panels For Uk Homes FAQ
How much do solar panels cost in the UK?
The cost varies significantly based on system size, panel quality, and installation complexity. As a rough guide, a typical 4kWp system for a 3-bedroom house can cost between £6,000 and £9,000. Adding battery storage can add another £3,000 to £6,000. It is essential to get personalised quotes for an accurate price.
Do solar panels work on cloudy days?
Yes. Solar panels generate electricity from daylight (photons), not direct sunlight or heat. While their output is highest on bright, sunny days, they will still generate a useful amount of power on overcast or cloudy days, which is why they are so effective in the UK climate.
How long do solar panels last?
Solar panels are incredibly durable. Most come with a 25-year performance warranty, guaranteeing they will still produce at least 80-85% of their original output after that time. Many systems will continue to generate power for 30 years or more. The inverter is the component most likely to need replacing, typically after 10-15 years.
Will I still have power during a power cut?
No, not with a standard grid-tied system. For safety reasons, the inverter automatically shuts down during a power cut to prevent sending electricity into the grid while engineers are working on it. Some advanced battery systems can provide backup power, but this costs more and must be specified at the design stage.
Can I go completely off-grid with solar panels in the UK?
While technically possible, going completely off-grid is extremely difficult and expensive for a typical UK home. The low levels of solar generation during winter months would require an impractically large panel array and a massive, costly battery bank to get through December and January. A grid connection remains the most reliable and cost-effective solution.
Final Checklist for Getting Solar Panels
Use this final checklist to ensure you've covered all the bases on your journey to generating your own clean energy.
- You have confirmed your roof is in good condition and suitable for an installation.
- You have reviewed at least 12 months of electricity bills to understand your usage.
- You have researched and received at least three written quotes from different MCS-certified installers.
- You have verified your chosen installer's credentials on the official MCS website.
- You fully understand the components, warranties, and performance estimates in your chosen quote.
- You have clarified the planning permission requirements for your specific property.
- You have received and safely stored your complete handover pack, including the vital MCS certificate.
- You have researched SEG tariffs and applied to your chosen licensee to get paid for your exported power.
- You have downloaded and familiarised yourself with your system's monitoring app.
- You have a plan to shift your appliance usage to maximise self-consumption.


