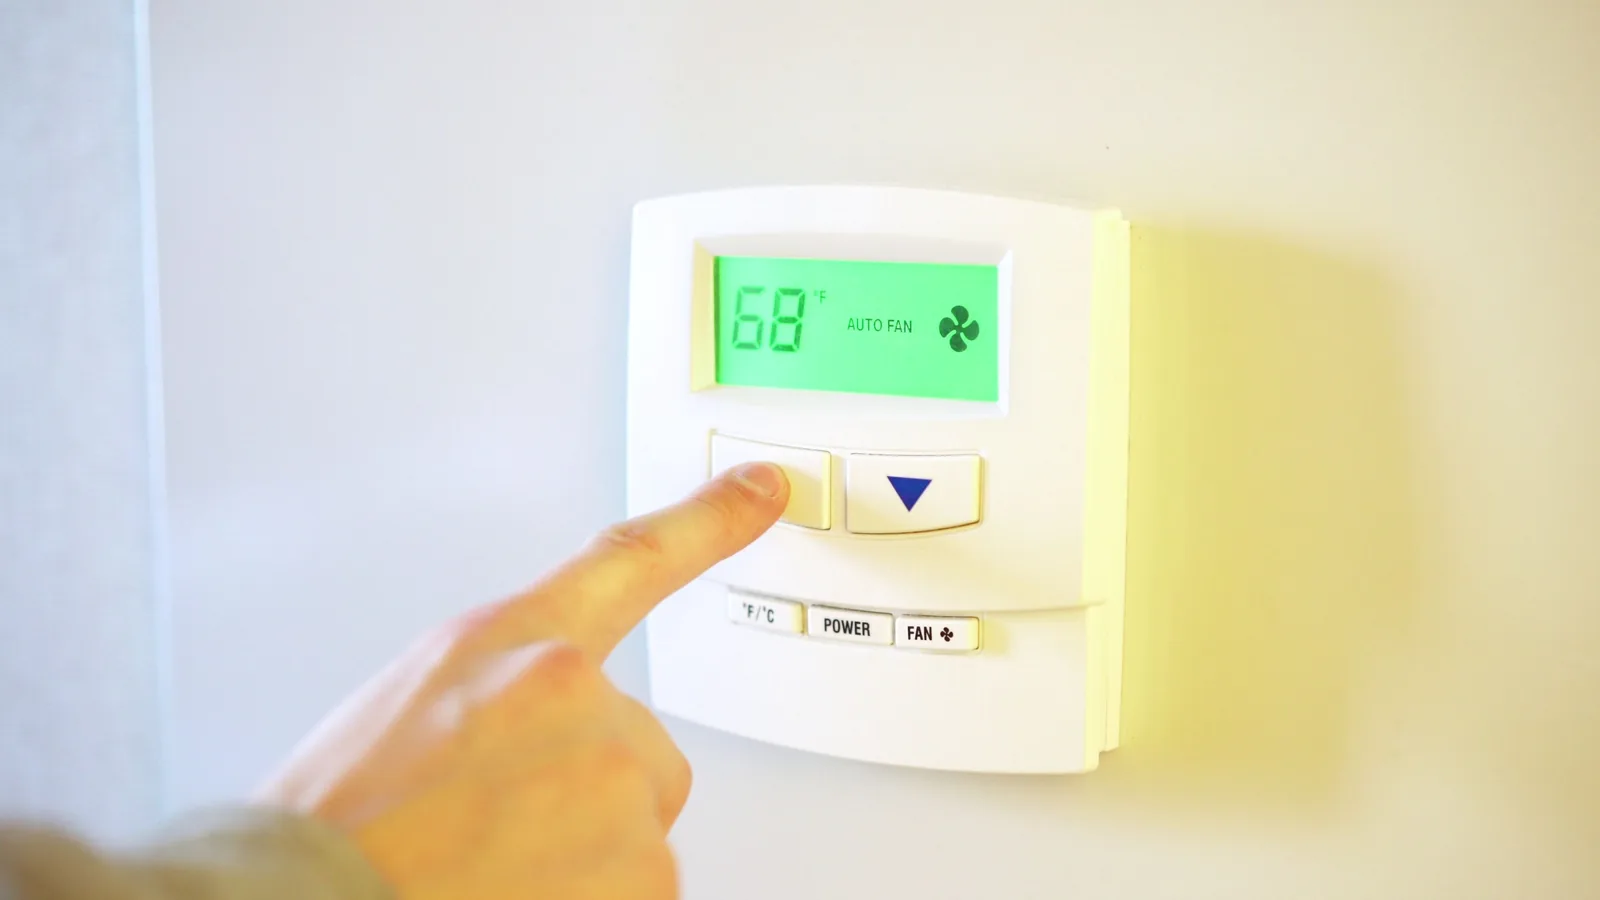
How To Install Smart Thermostats To Cut Heating Costs
Installing a smart thermostat can reduce heating costs by automatically lowering the temperature when you are away or asleep and by learning your schedule over time. This guide walks you through planning, wiring, mounting, configuring, and fine-tuning a smart thermostat so it runs your heating system efficiently without sacrificing comfort. You will also learn how to check compatibility, label wires, set schedules, and monitor results to make sure the change pays off in lower energy use.
Fast Answer
- Turn off power at the breaker, label existing thermostat wires, and photograph the connections before removing the old unit.
- Mount the new base, reconnect wires to matching terminals, restore power, and complete setup in the companion app with a schedule that lowers heat when you are away.
Before You Start
- Check your heating system type and wiring compatibility using the manufacturer’s online compatibility checker before buying a smart thermostat.
- Gather tools: a small screwdriver, wire labels, a level, a drill with wall anchors, a smartphone, and a multimeter if you want to verify voltage.
- Turn off power to your heating system at the circuit breaker and confirm the old thermostat screen is blank before touching any wires.
- Take a clear photo of the old thermostat’s wire connections and label each wire with its terminal letter so you can reconnect correctly.
Step-by-Step Instructions
Verify system compatibility and gather tools
Before you buy or open anything, confirm your heating system works with the smart thermostat you chose. Go to the manufacturer’s website and use the online compatibility checker, or read the manual’s wiring chart. Most smart thermostats support standard low-voltage systems, but some heat pumps, electric baseboard heaters, and older millivolt systems need extra parts or are not supported at all. Once you confirm compatibility, gather your tools: a small flathead and Phillips screwdriver, wire labels, a level, a drill with wall anchors, your smartphone, and a multimeter if you want to verify voltage. Clear the area around the old thermostat and place a towel below it to catch any debris. Check that your smartphone is charged and connected to your home Wi‑Fi network, because you will need it for setup. This planning step matters because installing an incompatible thermostat can waste time, and checking first helps you avoid returns or missed return windows.
Turn off power and remove the old thermostat
Go to your main electrical panel and switch off the breaker that controls your heating system. If you are not sure which breaker it is, turn off the main breaker to cut power to the whole house. Then go back to your old thermostat and confirm the display is blank. If it still shows anything, stop and find the correct breaker. Once the power is off, remove the thermostat cover by gently prying it off or unscrewing it. Use your phone to take a clear photo of the wire connections inside. Then attach a small label to each wire with its terminal letter, such as R, W, Y, G, or C. Labels are critical because wire colors can differ between installations, and matching by letter prevents mistakes when you connect the new unit. After labeling, loosen each terminal screw and pull the wires free. Remove the old mounting plate from the wall, but keep the screws if they are in good condition.
Prepare the wall and mount the new base plate
Hold the new base plate against the wall, aligning the wire opening with the hole where your wires come out. Use a level to make sure the plate is straight, because a crooked thermostat is hard to read and looks unfinished. Mark the screw holes with a pencil. If the existing holes do not line up, drill new pilot holes and insert wall anchors for a secure hold. Pull the labeled wires through the center opening of the base plate. Then screw the plate to the wall, but do not overtighten, since that can crack plastic. Give the plate a gentle tug to confirm it is firm. A stable mount matters because a loose base can cause intermittent connections that make the thermostat behave unpredictably. Before moving on, check that no wires are pinched between the plate and the wall, and that the plate sits flush without wobbling. If you are mounting on a rough surface, consider a small wall patch or a backing plate to create a flat surface.
Connect wires to the matching terminals
Compare your labeled wires to the terminal letters on the new base plate. Typically, R or RC goes to power, W to heat, Y to cooling, G to fan, and C to common. However, always follow the new thermostat’s wiring diagram, not the old thermostat’s layout, because terminal functions can differ. Bend each wire into a small hook or insert it straight into the clamp, depending on the terminal design. Tighten each screw firmly, then give a gentle pull on each wire to confirm it is secure. If your new thermostat requires a common wire and you do not have one, check the manual for an adapter kit or a power extender module. Do not force a wire into the wrong terminal, even if the color seems to suggest it. After all connections are made, tuck the wires neatly into the wall opening, leaving a little slack so they are not strained. This step is where most errors happen, so double-check every wire against your photo and labels.
Restore power and complete the initial setup
Put the thermostat cover back on the base plate, pressing gently until it clicks or snaps into place. Then go to your electrical panel and turn the breaker back on. The thermostat screen should light up or show a startup message. If nothing happens, turn the breaker off again and check that the cover is fully seated and wires are secure. Once powered, follow the on-screen prompts or open the companion app to connect the thermostat to your home Wi‑Fi network. The app will guide you through selecting your system type, setting the date and time, and naming your thermostat. During setup, you may need to choose whether you have a conventional or heat pump system, and whether auxiliary or emergency heat is present. Answer carefully using your earlier notes. After the thermostat connects, run a short test: raise the heat setting a few degrees and listen for your heating system to start. This confirms that wiring and setup are correct before you rely on the device.
Configure schedules and efficiency settings
Now that the thermostat is working, create a schedule that matches your daily routine. Use the app or on-device menu to set comfort periods: for example, a warm morning temperature, a lower setting when everyone is away, a comfortable evening setting, and a cooler overnight temperature. A common approach is to lower the heat by a few degrees when you are asleep or out, then return to comfort before you wake or arrive home. Avoid extreme swings, which can make your heating system work harder to recover. Enable any eco or away modes, and set a reasonable recovery time so the house is warm when you need it. If your thermostat supports geofencing, turn it on so it can detect when you leave and adjust automatically. Also check for settings like adaptive recovery or smart learning, and decide if you want them on. Review the schedule after a few days and adjust any periods that leave you too cold or that run longer than expected.
Quick Reference
| Situation | Action | Why it helps |
|---|---|---|
| Your old thermostat has thick wires connected with wire nuts instead of small screws. | Stop installation immediately and contact a qualified heating professional to assess the system, because line-voltage wiring requires different handling and parts. | Line-voltage thermostats control electric baseboard or fan-forced heaters and are not compatible with standard low-voltage smart models, so attempting to connect them can damage the device or create a safety hazard. |
| The new thermostat does not power on after you restore the breaker. | Turn the breaker off again, remove the cover, and verify that the common wire or adapter is connected to the correct terminal according to the manual, then check that the cover is fully seated. | Many smart thermostats need a common wire to draw power, and a loose cover or missing common connection is a common cause of a blank screen even when the wiring is otherwise correct. |
| Your heating system runs but the thermostat reports an error or the fan does not turn on. | Recheck each wire against your labeled photo and the new terminal diagram, ensuring no wire is in the wrong terminal and that the fan wire is connected if required. | A single misplaced wire can cause the system to behave incorrectly or run in a way that wastes energy, so verifying connections against the diagram resolves most configuration errors before you call for service. |
Common Issues
- The thermostat screen stays blank after installation.: Confirm the breaker is on and the cover is fully clicked into place. Then check that the common wire or power adapter is connected as shown in the manual. If your system lacks a common wire, install the manufacturer’s power adapter kit or call a professional to run a new wire.
- The heating system does not turn on when you raise the temperature.: Verify that the heat wire is in the correct terminal and that you selected the right system type during setup. If you have a heat pump, check that the reversing valve setting matches your system. Run a test cycle from the installer menu if available, and if the system still does not respond, contact a qualified technician.
- The schedule you set does not seem to take effect.: Check that the thermostat is in schedule mode and not in a temporary hold or manual override. Verify the time and date are correct, and review any eco or away settings that might override your schedule. If you use geofencing, confirm that your phone’s location permission is enabled for the companion app.
Advanced Tips
- Use the thermostat’s energy reports to compare heating runtime before and after you change schedules, and adjust setbacks based on actual patterns rather than guesses.
- If your system supports multiple sensors, place one in a room that feels too cold and set the thermostat to average temperatures, which can prevent overheating the whole house.
- Enable a short fan circulation period after heating stops, if your thermostat offers it, to distribute leftover warmth and reduce temperature swings without running the heater longer.
Final Checklist
- Confirm the breaker is back on, the thermostat screen is active, and no error messages appear.
- Verify that every wire is securely connected to the correct terminal and that the cover is fully seated.
- Test the heating system by raising the temperature and listening for the system to start within a few minutes.
- Review your schedule and efficiency settings in the app to ensure they match your daily routine.
FAQ
Do I need a common wire for a smart thermostat?
Many smart thermostats require a common wire, often labeled C, to provide continuous power for features like Wi‑Fi and a color display. If your existing wiring does not have a common wire, check the manual for an adapter kit or a power extender module that the manufacturer offers. Some models can work without one, but they may cycle the heating system to steal power, which can cause problems. If you are unsure, look at your old thermostat’s connections or consult a qualified heating professional before proceeding.
Can I install a smart thermostat myself if I have a heat pump?
You can often install a smart thermostat on a heat pump, but heat pump systems have extra wires and settings, such as a reversing valve and auxiliary or emergency heat. You must select the correct system type during setup and connect all wires according to the manual. If your heat pump uses a proprietary communicating thermostat, a standard smart thermostat may not be compatible without an adapter. Carefully check the compatibility information and consider hiring a professional if your system is complex or you are unsure about any wire.
How much can I save by lowering the temperature when I am away?
The amount you save depends on your climate, home insulation, heating system, and how long you lower the temperature. Energy agencies often suggest that a modest setback of a few degrees for several hours a day can reduce heating energy use, but the exact percentage varies. To see your own results, use the thermostat’s energy reports to compare runtime before and after you change your schedule. Start with a small adjustment and increase it gradually. If you have a heat pump, avoid deep setbacks because recovery may use more energy.


